Teaching Matching Skills: Simple Steps to Build Early Learning Foundations

%2013.avif)

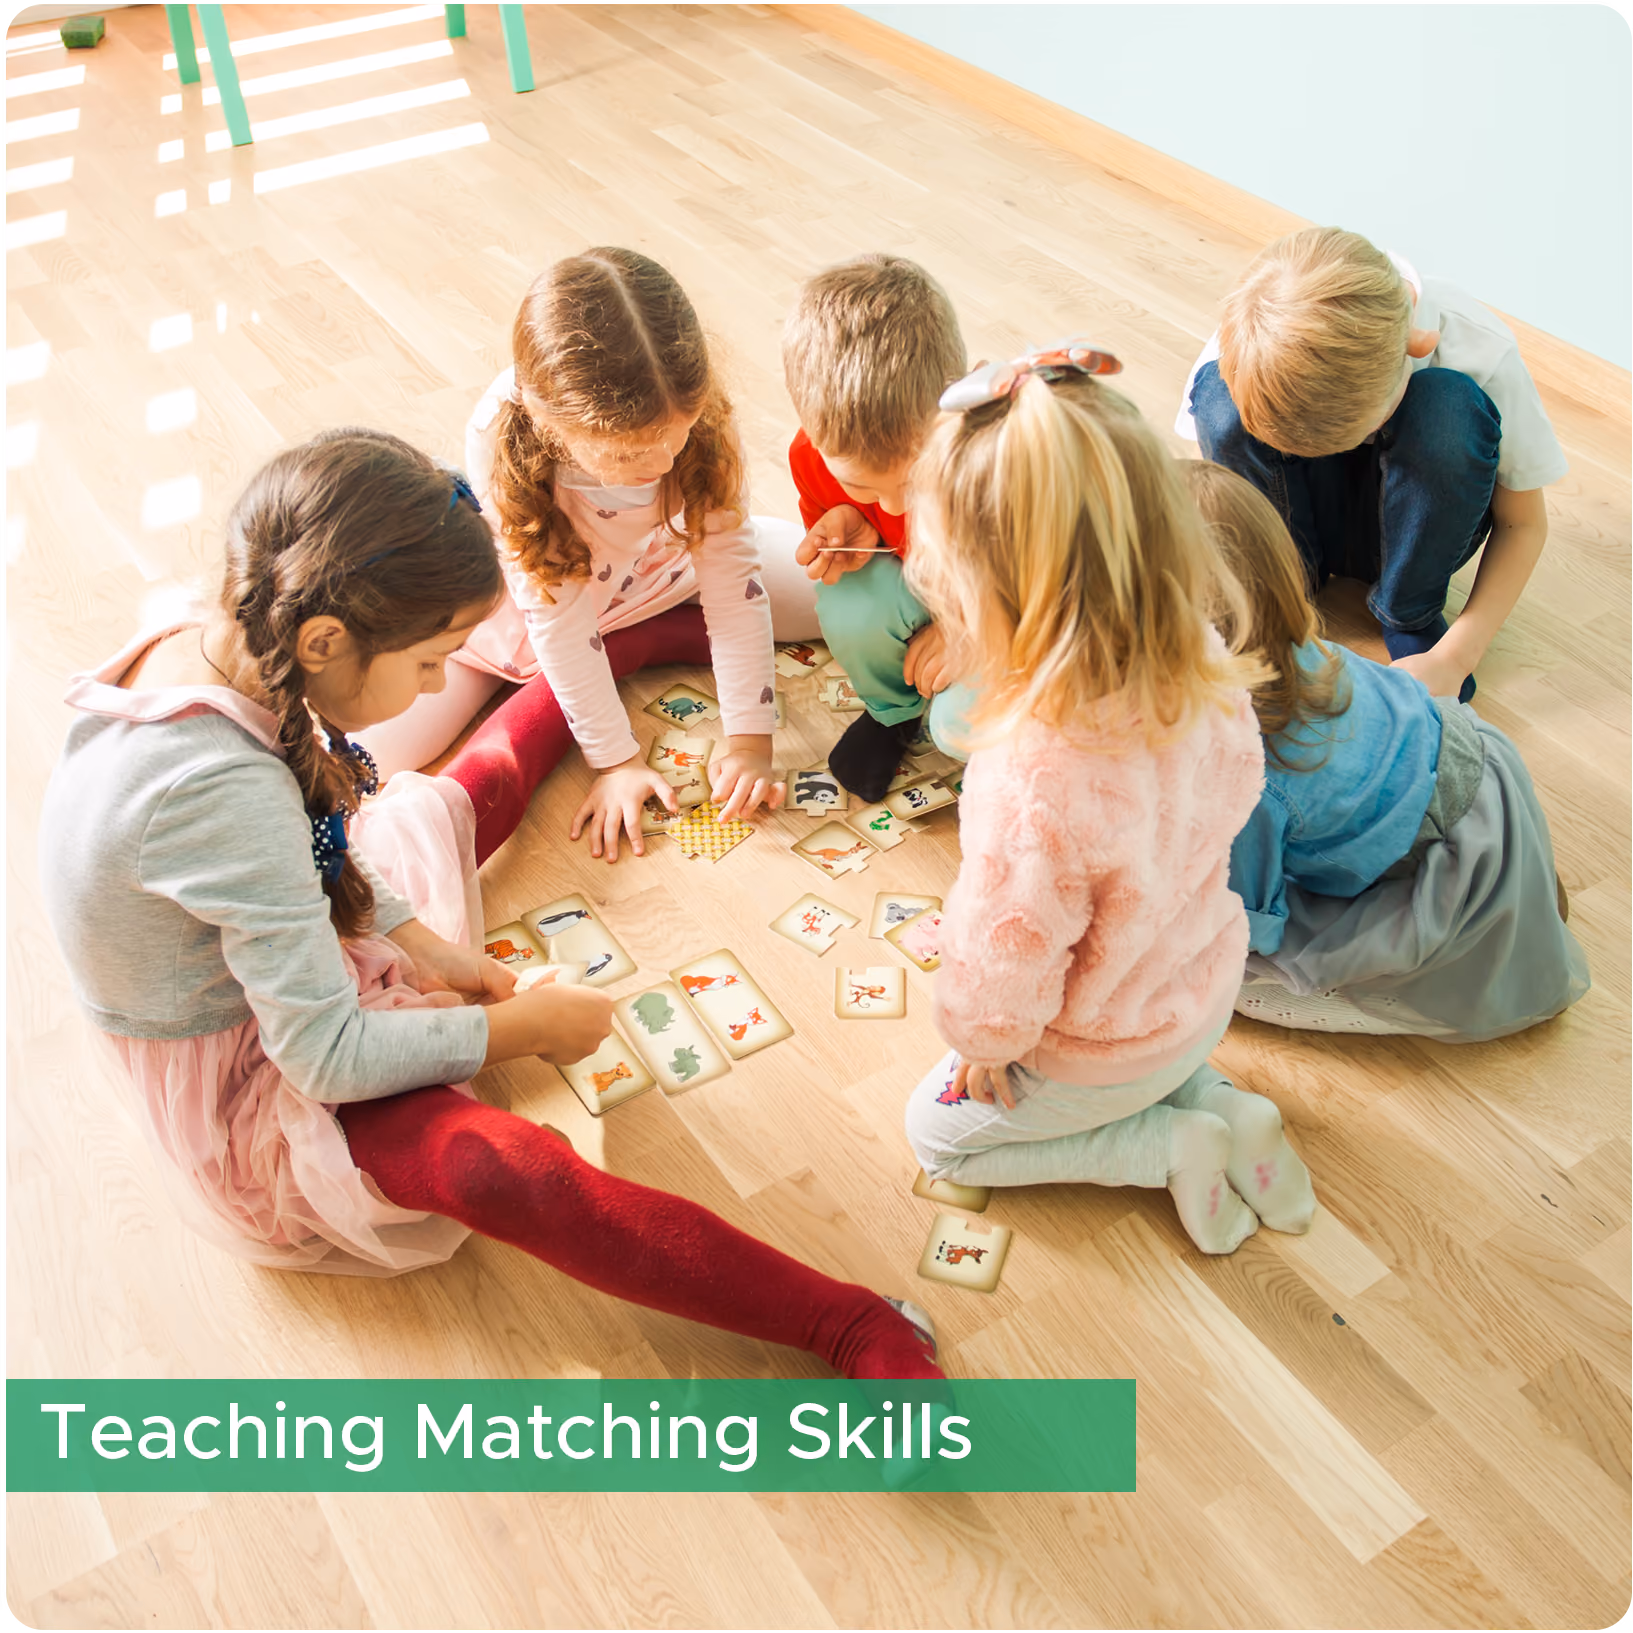
Matching, though it seems like a simple skill, is the foundation for the development of receptive and expressive labeling. Luckily, it is a skill that you can easily work on with your child, with no special equipment or training required! Matching can be taught using a variety of teaching styles: highly structured teaching (which may take place at a table or floor), or a naturalistic approach through play. Matching lessons can also vary from matching identical 3D common objects to using 2D pictures, a combination of both 2D and 3D, or matching non-identical objects.
Matching 2D Images to 3D Items
Today, we will focus on teaching matching using 2D images to 3D items using a naturalistic approach. With this exercise, you will present your child with a picture of an item, and then have them find that item in their natural environment!
Step 1: Choose Your Items
First, you will want to come up with a list of at least 5 items to work on. These items can be common household items or items of interest for your child. If your child is struggling to stay motivated, choosing a preferred interest can help keep your child engaged.
Step 2: Identical vs. Non-Identical Matching
Next, you will want to decide if you will be using identical pictures/3D items or non-identical ones. With identical matching, you would want photographs of the specific item you are looking for, so get out that camera and start taking photos! With non-identical matching, you can use things like clipart, photos from the internet, stickers, drawings, you name it. As long as it reasonably represents what you want your child to look for, it’s perfect! If you’re unsure, you can take a look at your child’s ABA program and see what they are currently working on.
Step 3: Gather Your Images
Once you’ve decided whether you will be working on identical or non-identical items, work on gathering your images. If you’re using non-identical pictures, these can come from anywhere! Pictures from the internet, clippings from newspapers or magazines, or stickers from your local dollar store would all work for this exercise. Place all of your images on a piece of paper so your child knows what they will be looking for.
Turning Matching Into a Fun Activity
Now comes the fun part: hiding your items! This is one of those tasks that you can make as easy or as hard as you want, depending on your child’s age and ability level. You may want to place items fully within sight, or completely out of sight - it’s up to you! Hide the items around the house, in a particular room, in the back yard, etc. You can really do this activity anywhere your child is comfortable.
Let the Treasure Hunt Begin
Finally, present your child with the list and have them work on finding the items. You can coach them as much or as little as is necessary. Finding the items is fun, but what we are really working on here is their ability to match a 2D picture to a 3D item.
Making It Your Own
Your child will have tons of fun finding these hidden treasures. The best part of all is that you can modify the game to include outdoor items or safety signs. It can even be altered to an I-Spy game. My 6-year-old loves looking for hidden treasures - we use cool map templates to make it more fun and switch up the items she has to find. At the end of the game, she earns a reward that is motivating to her: anything from stickers, to her choice of a tv show to watch, or sometimes playing with her favorite toy, Barbies!
Support Teaching Matching Skills with Expert ABA Guidance at Behavior Frontiers
Teaching matching skills lays the groundwork for visual discrimination, early academics, and independent learning, but progress happens best with structured, individualized support. At Behavior Frontiers, our clinician-led ABA programs use evidence-based, step-by-step strategies to help children master foundational skills in engaging and meaningful ways. With personalized treatment plans and real-time progress monitoring, we ensure each small success builds toward greater confidence and readiness for school and life.
Book a free consultation today and take the next step in your child’s learning journey.